
Switching From Metal to Plastic: Converting Parts Without Headaches
If you build things for a living, you care about cost, strength, and keeping jobs on schedule. Converting a metal part to plastic can help with all three, but only if you plan it right. This guide shows how to switch from metal to plastic the smart way, so you get strong parts, lower costs, and fewer delays.
Why Switch From Metal to Plastic
-
Lower part cost once you are past the tooling stage
-
Lighter weight for easier handling and lower shipping
-
No rust and good chemical resistance with the right resin
-
One piece instead of many by molding features into the part
-
Repeatable quality from cycle to cycle
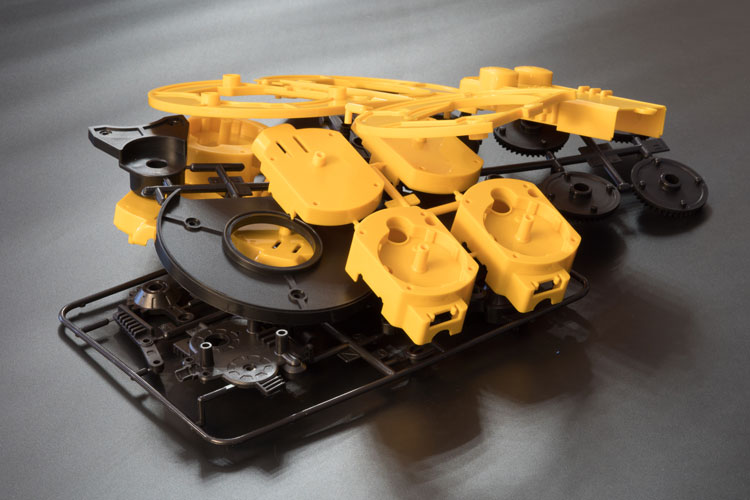
Where Plastic Makes Sense
-
Handles, covers, guards, brackets, spacers, caps, and housings
-
Parts that do not face extreme heat or heavy structural loads
-
Components that need a clean finish right out of the mold
Start With a DFM Review
A quick DFM review catches issues that cause sink marks, weak corners, or stuck parts later. At minimum, check:
-
Wall thickness stays consistent
-
Ribs and gussets add strength instead of thick walls
-
Fillets soften sharp corners to prevent stress cracks
-
Draft angles help the part release cleanly
-
Undercuts are removed or redesigned to keep tools simple
Choose the Right Resin
Match the resin to the job:
-
PP: flexible and chemical resistant
-
ABS: tough and paintable
-
Nylon: strong for gears and moving parts
-
PC: very high impact strength, clear options
-
HDPE: weather resistant for outdoor caps and covers
Think about heat, load, chemicals, and appearance before you decide.
Replace Metal Strength the Right Way
Plastic gets strength from shape.
-
Add ribs instead of thicker walls
-
Use box shapes and arches to carry load
-
Increase boss diameter and add support ribs
-
Use metal inserts where clamp loads are high
Hardware and Joining Options
-
Threaded inserts for repeat assembly
-
Self-tapping screws made for plastics
-
Snap fits for quick assembly
-
Ultrasonic welding or adhesives for clean joints
Tooling Choices and Timeline
-
Aluminum tools for prototypes and bridge runs
-
Steel tools for high volume and long life
-
Family molds to run related parts together
-
Side actions only when a feature truly needs it
Cost Drivers to Watch
-
Part size and wall thickness
-
Number of side actions and lifters
-
Surface finish and texture
-
Resin price and color match
-
Order quantity and shipping plan
Testing and Approval
Check fit, function, finish, and assembly before full production.
Common Mistakes to Avoid
-
Skipping draft
-
Making walls too thick
-
Sharp corners with no radii
-
Choosing resin by price instead of performance
-
Approving design before a DFM review
Simple Conversion Checklist
-
Lock fit, function, and conditions
-
Get a DFM review and apply changes
-
Select resin for heat, load, chemicals, and finish
-
Choose hardware or snap fits
-
Pick tooling strategy and timeline
-
Approve color and texture
-
Test first articles and release for production
FAQ
Will plastic be strong enough?
Yes, when designed for plastic with ribs, radii, and the right resin.
What if I only have a metal drawing?
We translate it to a plastic-ready design and review it with you.
Do I need threaded inserts?
Use inserts for high clamp loads or repeated assembly.
About RMC Plastics
RMC Plastics is Houston’s best choice for plastics manufacturing, injection molding, and rapid prototyping. We help contractors convert metal parts to plastic without headaches, from DFM to first shots and full production. Reach out at rmcplastics.com to start your project today.